

How to Do Laundry: A Complete Beginner’s Guide
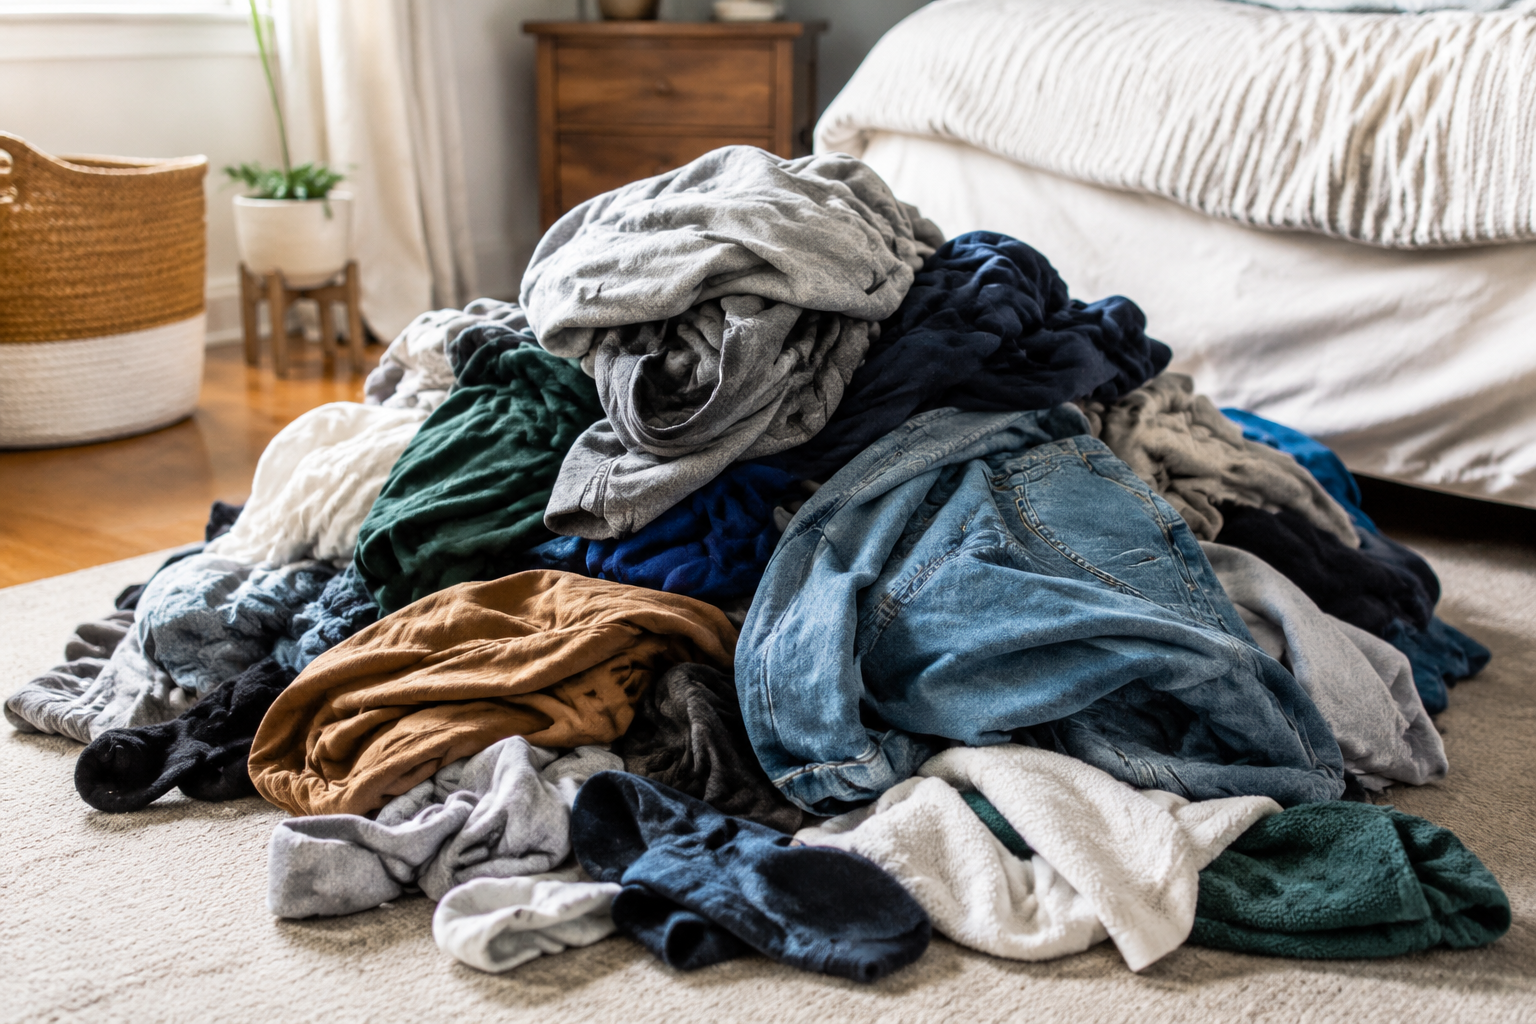
If you’ve made it this far in life without really doing laundry — maybe someone else always handled it, or you’ve been getting by on the “wear it again, it’s probably fine” method — you’re not alone, and there’s nothing to be embarrassed about.
Laundry looks more complicated than it actually is. Once you understand the handful of rules underneath it, it becomes one of the easiest chores you do all week.
This guide assumes you know nothing. That’s on purpose.
What You’ll Need Before You Start
- Laundry detergent (liquid, pods, or powder — any works, more on this below)
- A laundry basket or bag to carry clothes
- A washer and dryer (in-unit, in-building, or at a laundromat all work the same way)
- Optional: stain remover stick or spray, dryer sheets or wool dryer balls
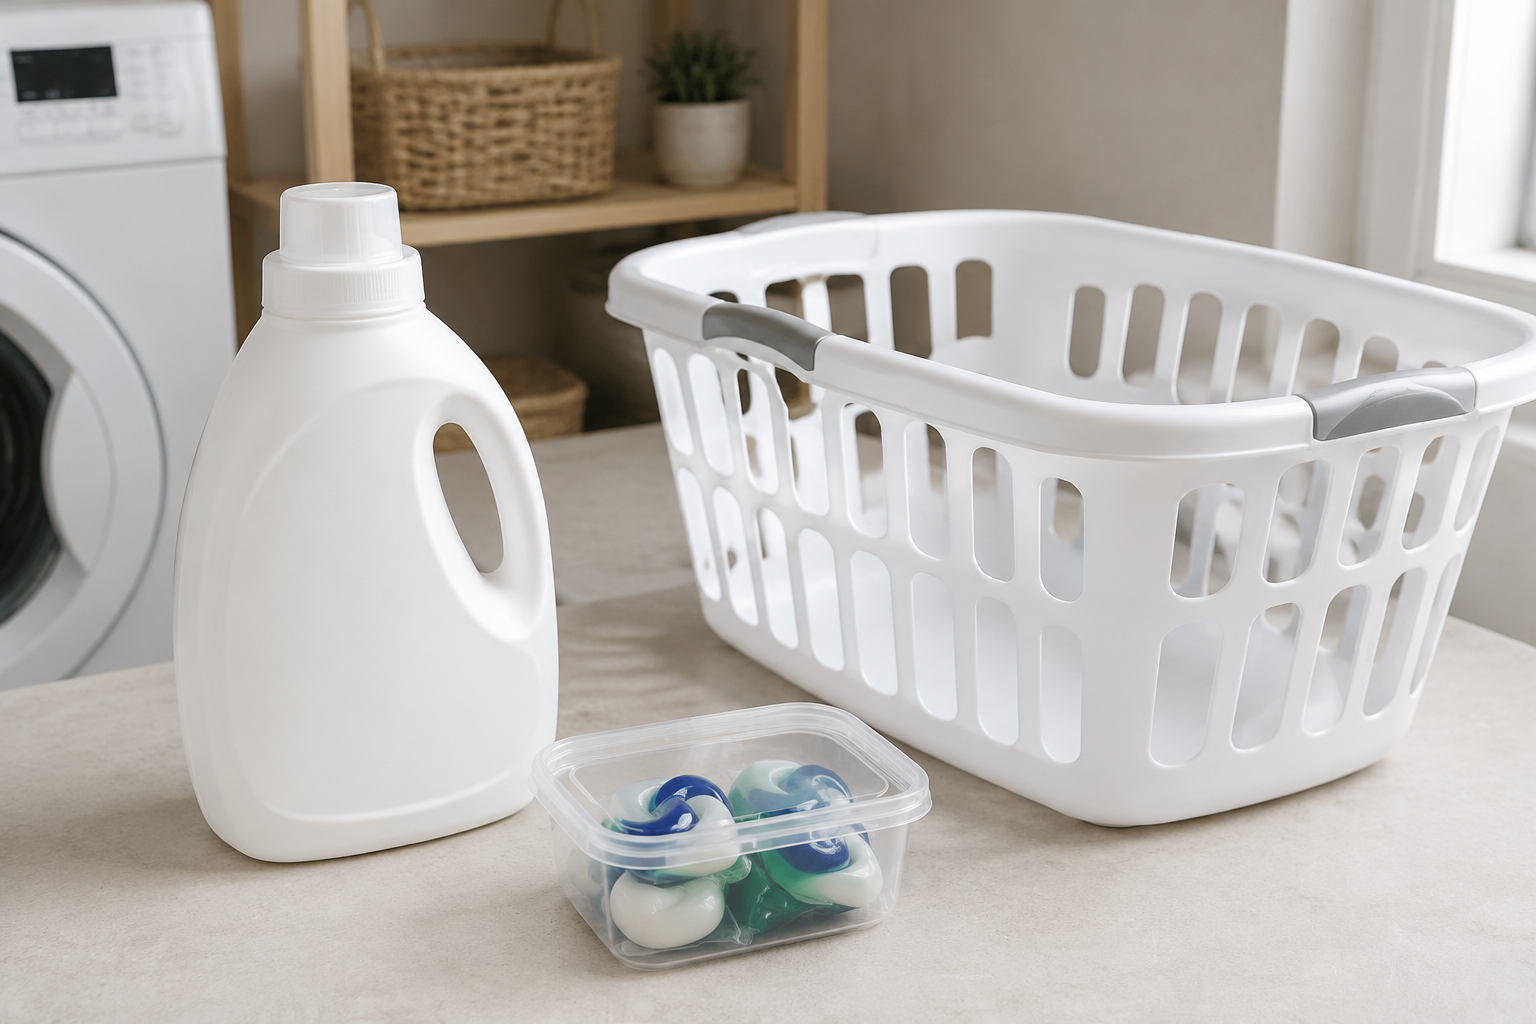
You do not need fifteen different products. Detergent and a machine are genuinely enough to get clean, correctly washed clothes.
Step 1: Sort Your Clothes Into Piles
This is the step people skip and immediately regret — it’s also the single most important one.
Sort into three basic piles:
- Whites — plain white t-shirts, white socks, white undershirts
- Darks — black, navy, dark grey, dark colors in general
- Colors — everything bright or mid-toned: reds, blues, patterns, most everyday shirts

Why this matters: dark and bright colors can bleed dye onto lighter fabric in hot water, which is how a white shirt turns pink. Sorting prevents that in one step, no guesswork required.
Quick beginner rule: if you genuinely can’t be bothered to sort everything, at minimum separate your whites from everything else. That alone prevents 90% of laundry disasters.
Step 2: Check the Care Label (Just Once)
Every piece of clothing has a small tag, usually stitched into the side seam or collar, with tiny symbols on it. You don’t need to memorize them. Just check for two things:
- A symbol that looks like a washtub with a hand in it — this means hand wash only, skip the machine
- A circle with an X through it — this means do not dry clean (rare on everyday clothes, mostly irrelevant to you)
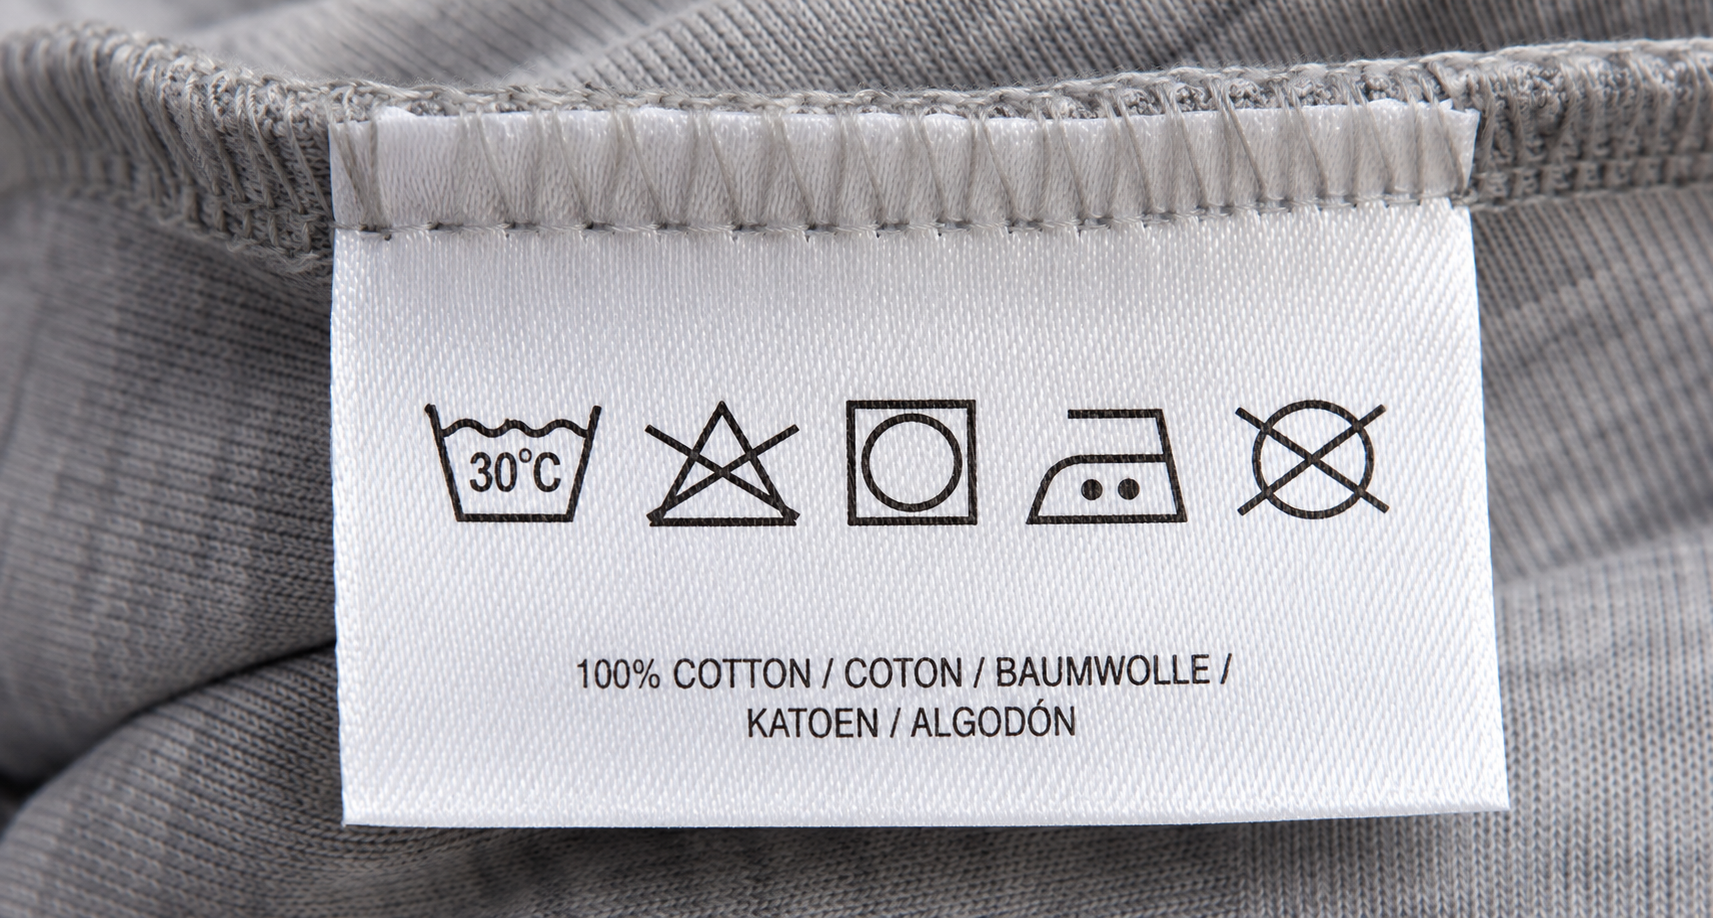
For nearly everything you own — t-shirts, jeans, underwear, socks, casual button-ups — you can ignore the label entirely and just machine wash on cold. Cold water is the safe default for almost all beginner laundry.
Step 3: Load the Washing Machine
Put your sorted pile into the washer. Don’t overpack it — clothes need room to move around in the water to actually get clean. As a rule of thumb, the drum should be about ¾ full at most, not stuffed to the top.

Step 4: Add Detergent
This is where most beginners either use too much or aren’t sure where it goes.
- Liquid detergent: goes in the dispenser drawer (usually labeled, top-left or top-right of the machine) or directly in the drum before adding clothes, depending on your machine
- Pods: go directly in the drum, placed at the bottom before you add clothes on top — never on top of the clothes
- Powder: goes in the detergent dispenser drawer
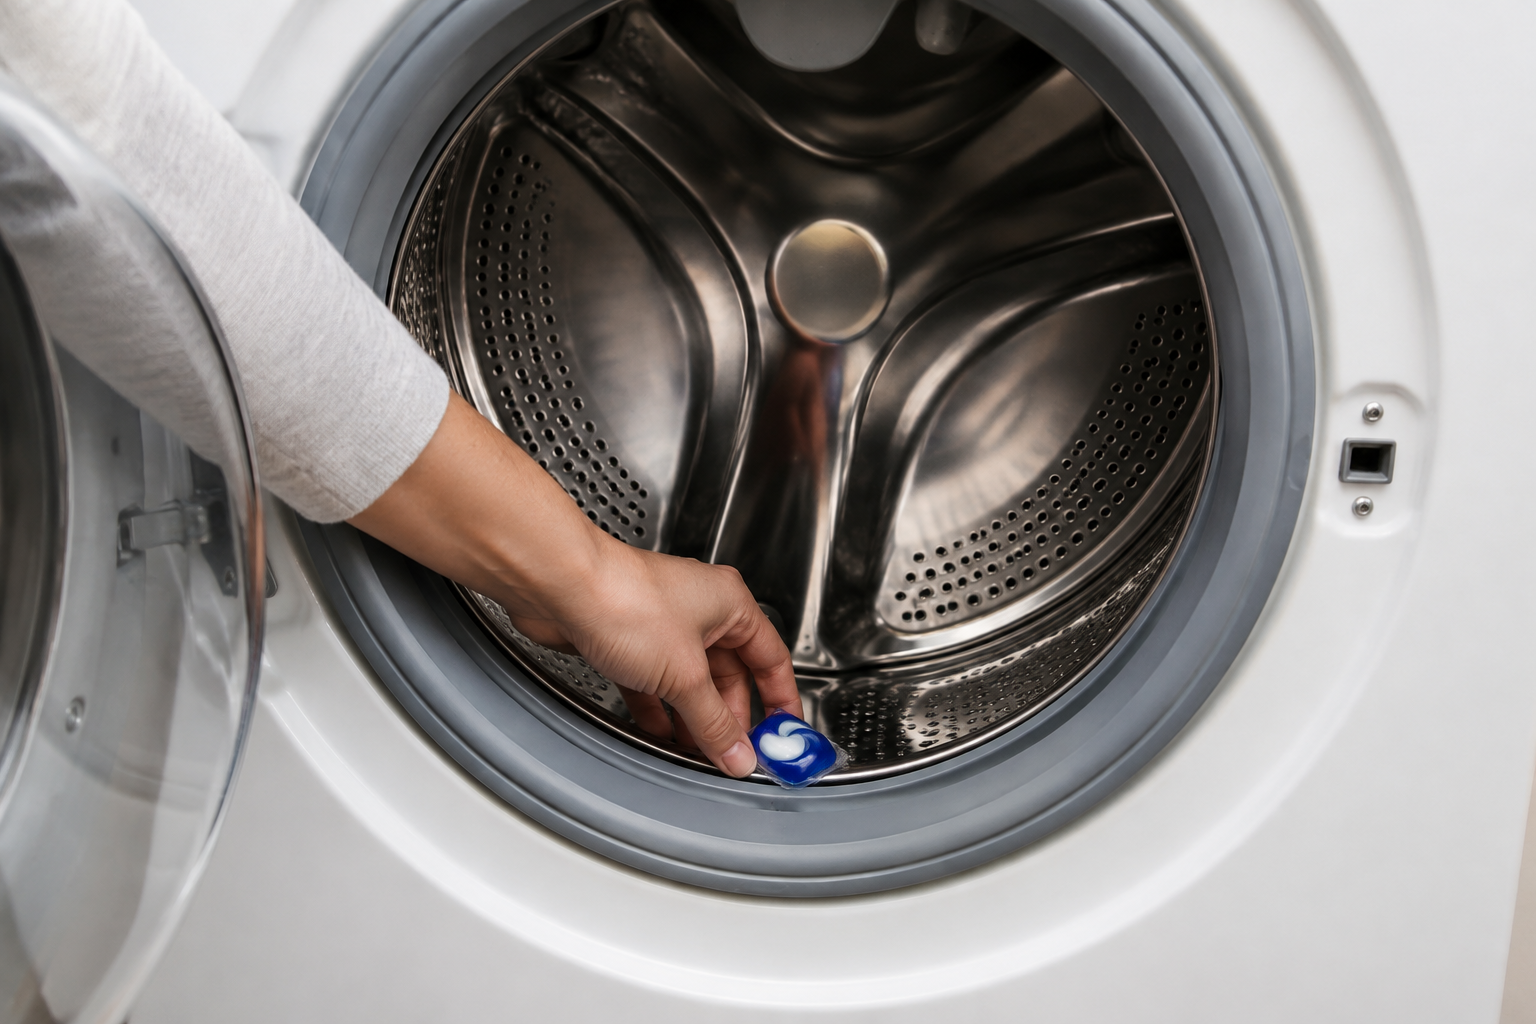
How much to use: check the cap or the pod box — there’s almost always a fill line or a “1 pod per load” instruction. More detergent does not mean cleaner clothes; it usually just means more rinsing needed and can leave residue on your clothes.
Step 5: Choose Your Settings
Modern washers have a lot of buttons. As a beginner, you really only need to know three things:
Water temperature: Cold Cold water is the safe default. It’s gentler on fabric, prevents shrinking, prevents color bleeding, and saves energy. Save hot water only for things like bedsheets or heavily soiled workout clothes.
Cycle: Normal (or “Casual”) This is the standard setting and works for almost everything you’ll wash. Skip “Delicates” unless you’re washing something genuinely delicate (thin, sheer, or lacy fabric) — and skip “Heavy Duty” unless it’s visibly muddy or filthy.
Spin speed: Leave it on the default. Most machines set this automatically based on the cycle you pick.

Press start. That’s it — you’re doing laundry.
Step 6: Move Clothes to the Dryer
Once the wash cycle finishes (usually 30–60 minutes), transfer clothes to the dryer promptly. Leaving wet clothes sitting in the washer for hours can cause a musty smell — if that happens, just re-run a short rinse cycle.

One important exception: check labels for anything that says “tumble dry low” or has a symbol of a square with a circle inside it and dots — that’s your dryer heat guide. When unsure, medium heat is a safe default for most everyday clothing.
Items to consider air-drying instead of machine drying: anything with elastic (like some underwear or athletic wear), anything you were told is “shrink-prone,” or anything you actually care about not shrinking. When in doubt, hang it instead of tossing it in the dryer.
Step 7: Dry, Fold, Done
Run the dryer on a normal/medium cycle — usually 40–60 minutes depending on load size. Pull clothes out promptly when it’s done to avoid wrinkles setting in.
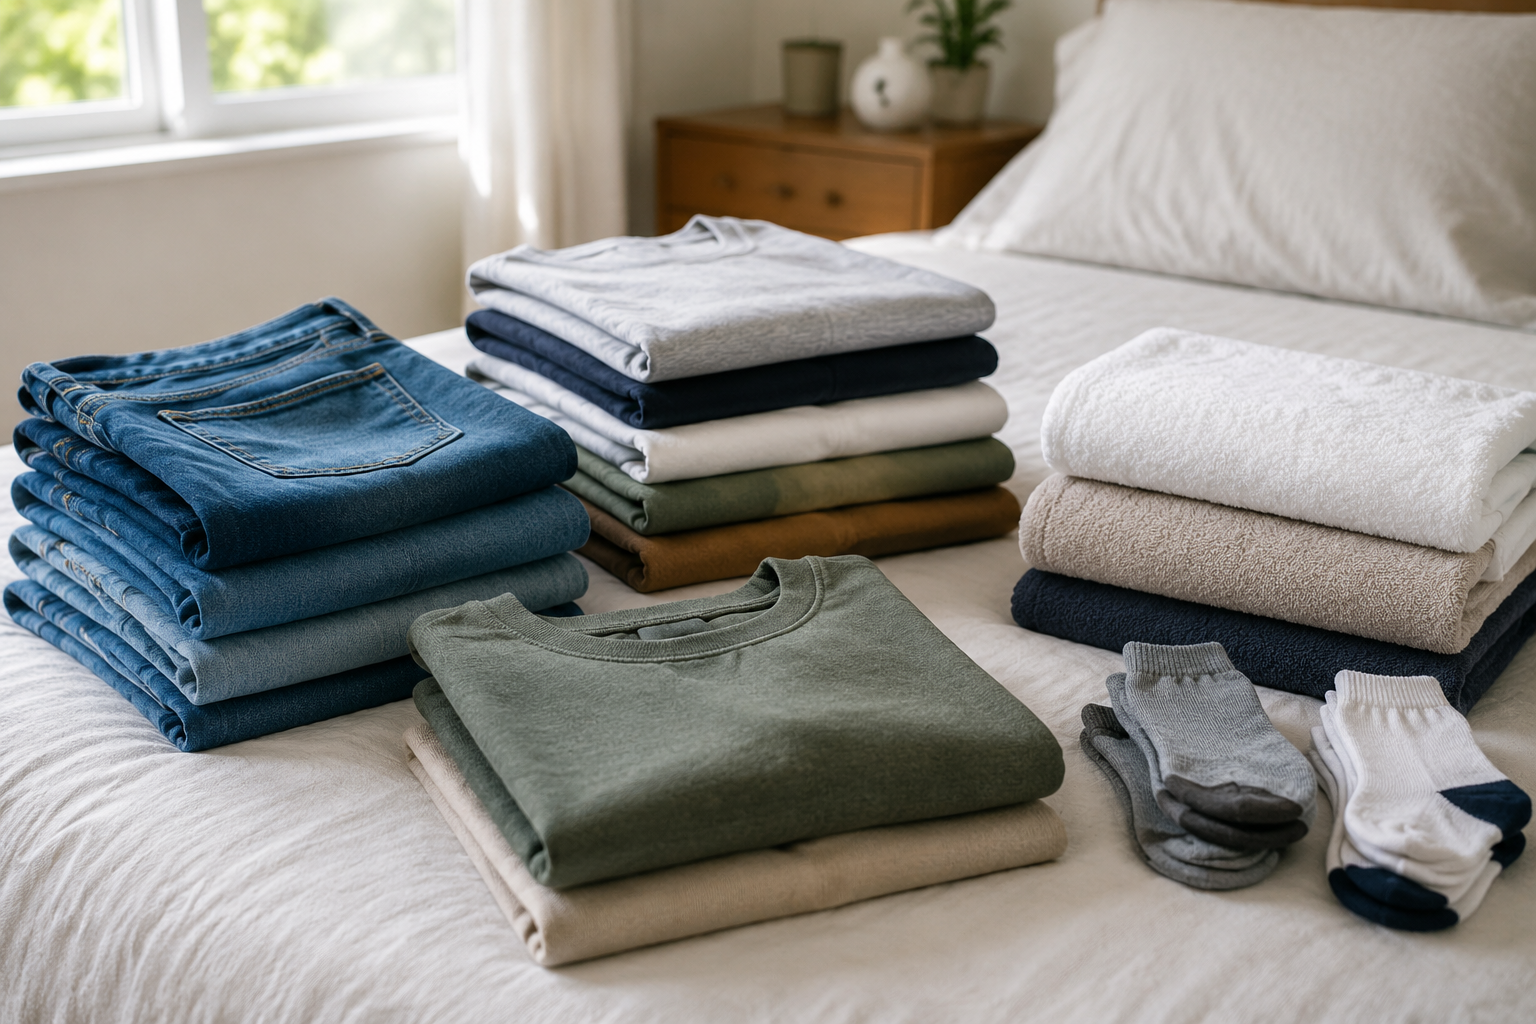
Fold or hang while still slightly warm — it’s easier and clothes wrinkle less this way.
Quick Laundry Cheat Sheet
- Sort into whites / darks / colors
- Check for hand-wash-only labels
- Load washer ¾ full, not packed tight
- Add detergent (pod at bottom, before clothes)
- Set to cold water, normal cycle
- Transfer to dryer promptly after wash finishes
- Dry on medium heat, check labels for exceptions
- Fold while slightly warm
Common Beginner Mistakes (And How to Avoid Them)
Mixing whites with darks on the first try. It happens to almost everyone once. If a color bleeds onto a white item, don’t panic — re-wash the affected item alone in cold water immediately, before it dries and sets in.
Using too much detergent. More soap doesn’t mean cleaner clothes — it usually means a longer rinse cycle and a residue that can actually make clothes feel stiff or smell off.
Leaving wet laundry in the washer too long. Set a timer on your phone for when the cycle ends so you don’t forget and come back to musty clothes hours later.
Drying everything on high heat. High heat is what shrinks clothes and wears out elastic. Medium heat is the safer default for almost everything.
<PHOTO: Person confidently pulling clean folded laundry, symbolizing a completed task>
You’ve Got This
Laundry isn’t a skill some people are born with and others aren’t — it’s a short list of steps that becomes automatic after you’ve done it two or three times. The first load might take you longer than it should because you’re double-checking everything. That’s normal. By the third or fourth time, you won’t think about it at all.
Next up: [How to Iron a Shirt Without Ruining It] — because clean clothes are step one, and looking put-together is step two.
Frequently Asked Questions
Do I really need to separate whites and darks? For best results, yes — but if you only do one thing, keep whites separate from everything else. That prevents the most common laundry mistake.
What temperature should I wash clothes on? Cold water is the safe default for almost everything. It prevents shrinking and color bleeding and works fine for most everyday dirt and odor.
How much detergent should I use? Follow the fill line on the cap or the instructions on the pod box — usually one pod or one capful per normal-sized load. More is not better.
Can I wash everything together in one load? You can combine similar colors (all darks together, for example), but never mix whites with darks or brights, especially in warm or hot water.
